Matrix Array: 3D B-mode imaging
In this document, we present how to run Matrix array 3D B-mode imaging example.
Caution
This example is adapted for the Vermon 3D 32x32 probe (4 x 32 elements). It can also be easily adjusted for other 3D probes; however, it is best to contact us for guidance on how to do this (adjusting the probe’s pin mapping, geometry, etc.).
The example discussed here is a very simple implementation of 3D B-mode imaging,
not intended for medical diagnostics.
A medical-grade quality implementation of 3D volume reconstruct will soon be made
available as part of the arrusx package.
Intended use
General-purpose 3D imaging using matrix array.
Requirements
us4R
a matrix array probe (tested on Vermon 3 MHz 32x32 matrix array)
ARRUS Python >= 0.10.0
cupy >= 12.0.0
gui4us >= 0.3.0-dev20250318
Dedicated hardware
The example was developed and tested on the following setup:
ultrasound system: us4R system with the PCI-e interface,
probe adapter: us4us 3D adapter,
probe: Vermon 32x32 array, 3MHz.
Installation
Download the color doppler example (the whole directory).
Update the
us4r.prototxtin theenv.pyfile: thesession_cfgparameter of theUltrasoundEnvobject constructor.
How to run
Adjust the following parameters:
medium.speed_of_sound,center_frequency.Start the gui4us configuration:
gui4us --cfg /path/to/examples/matrix_array/bmode
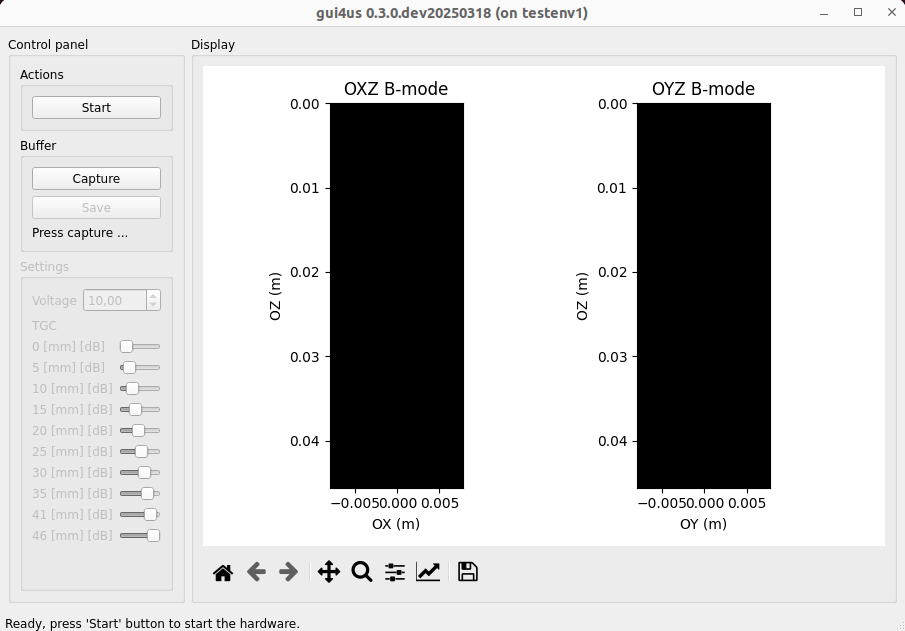
After successfully launching the application, a window like the one below should appear.

Press Start button.
Put the ultrasound gel on the probe, place the probe on the calibartion phantom.
Offline image reconstruction
For users who do not yet have our system, we have prepared a Jupyter notebook that:
downloads data collected using the us4R system,
loads the data,
runs the 3D reconstruction,
visualizes the data.
Requirements:
NVIDIA GPU with CUDA Compute Capability >= 5.2,
Operating system: Windows (>= 10) or Linux (e.g., Ubuntu 20.04 or later),
NVIDIA CUDA Toolkit version 11 or 12,
Python 3.8, 3.9 or 3.10.
In order to run the offline image reconstruction:
Install following packages:
jupyterlab
vtk
panel
matplotlib
ARRUS >= 0.10.0
cupy < 13.0.0
You can do it using following command:
pip install jupyterlab vtk panel
The ARRUS package (e.g., arrus 0.10.5) is available here. Depending on Python version you have installed (3.8, 3.9, or 3.10), you should select a .whl package with cp38, cp39, or cp310 in its name. Depending on your operating system, use win_amd64 (Windows) or linux_x86_64 package.
You can install the CuPy package using one of the following commands:
for CUDA Toolkit 11.x:
pip install cupy-cuda11x<13.0.0,for CUDA Toolkit 12.x:
pip install cupy-cuda12x<13.0.0.
Start Jupyter, open and run the following notebook.